Thanos Easter Egg, How it works
May 10, 2019
Translated by readers into: English
Read the original • Improve this translation • View all translated posts
With the release of Avengers: Endgame (2019), Google added an Easter Egg to its search results page. When you search for Thanos on Google, you will see an Infinity Gauntlet icon on the right, and when you click on it, half of the search results disappear into the dust.
My son sees Easter Egg and asks, “Dad, Can you do that?” I said, “Maybe?” But I do not have any idea how to implement it. After all, Using browser’s developer tools, I looked at how it works. Easter Egg was expected to be complex, but was implemented in a very simple way, contrary to my expectation.
To view the demo, click on the Infinity Guntlet on the right.
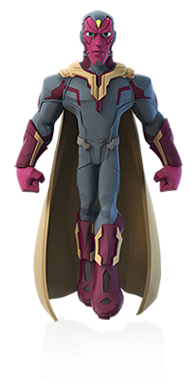
VISION
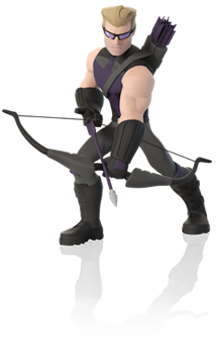
HAWKEYE
Web pages turn into dust in three steps below.
- Capture the screenshot: Capture screenshot of original element using the html2canvas library.
- Split into multiple layers: Create an ImageData instance of the same size as the original, and get the data from each pixel of the original screenshot and move it to any ImageData instance. After ImageData is reflected, update it on each canvas.
- Rotate and move layers: Rotate each canvas layer at any angle and adjust the opacity to gradually become invisible.
Let’s take a step-by-step look at the example along with the code.
1. Capture the screenshot
The example on the right is written with the following HTML code.
For the next step, you need to convert the element with the HTML hierarchy to an image. And you can use the [html2canvas] (https://html2canvas.hertzen.com/) library to get a screenshot of a specific HTML element.
import html2canvas from 'html2canvas';html2canvas(element, {backgroundColor: null,}).then((canvas) => {// doSomething(canvas);});
Run the above code to create a screenshot of the target element. (click)
THOR / THOR ODINSON
https://www.marvel.com/characters/thor-thor-odinsonThe son of Odin uses his mighty abilities as the God of Thunder to protect his home Asgard and planet Earth alike.
2. Split into multiple layers
At this stage, each pixel of the original screenshot is randomly divided into several canvases.
Canvas uses the ImageData interface to represent pixel data in the area. In each of the steps below, we will create, read, and move ImageData.
Create an ImageData instance of the same size as the original.
Use the createImageData function to create a set number of empty ImageData of the same size as the original.
const ctx = canvas.getContext('2d');const width = canvas.width;const height = canvas.height;const layers = new Array(numOfLayers).fill(null).map(() => ctx.createImageData(width, height));
Get ImageData for each pixel in the original screenshot and move it to any ImageData instance.
getImageData function gets the ImageData of the original screenshot, then traverses all the pixels and moves each pixel’s ImageData randomly to any ImageData instance.
const imageData = ctx.getImageData(0, 0, width, height);for (let x = 0; x < width; x += 1) {for (let y = 0; y < height; y += 1) {const i = Math.floor((numOfLayers * (Math.random() + (2 * x) / width)) / 3,);const p = 4 * (y * width + x);for (let j = 0; j < 4; j += 1) {layers[i].data[p + j] = imageData.data[p + j];}}}
After all ImageData is reflected, update on each canvas.
When all ImageData is ready, create a canvas and draw a image using that ImageData. Pixels are scattered in each canvas layer, but they are not much different from the original in layering.
layers.map((layer) => {const clone = canvas.cloneNode();clone.getContext('2d').putImageData(layer, 0, 0);return clone;});
3. Rotate and move layers
When the canvas layer is ready, the effect is completed by using the css transform and opacity to rotate each layer sequentially at any angle and make it transparent.